
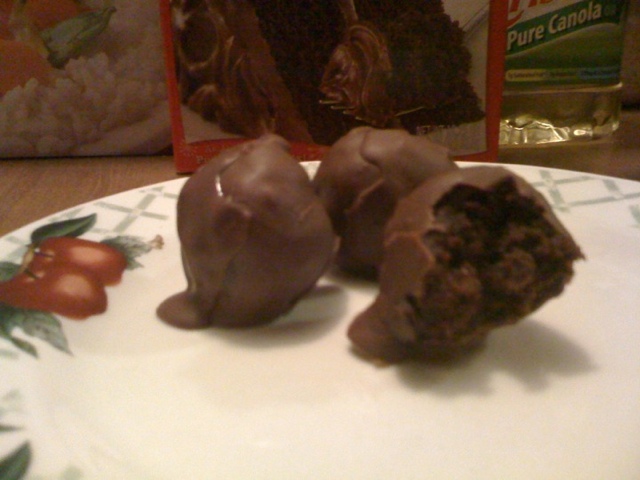
Don’t these cake balls look delicious? Sorry about the photo quality — I took the picture using my iPhone in a fairly dim dining room.
That said, I have never had case so moist and decadent as these cake balls.
Are you drooling yet?
They’re terribly easy to make. Just checkout these links that I used to make my creations:
- Bakerella cake ball recipe
- Bite-size cake balls are popular new treat with home cooks, bakeries
- Kimmy’s cake balls!
Here is the exact recipe I used:
- 1 Devil’s food cake mix
- 1 can chocolate fudge frosting
- 1 package chocolate candy coating
Bake the cake just like you normally would. I ended up using two 9? round pans because my 9×13 has peach dump cake in it.
Let the cake cool completely. Then break up the cake and put it in your mixer on low speed. Low speed is important, because if you have the old style mixer like mine, you’ll throw crumbs everywhere. Keep mixing until the cake is completely crumbled up — no large pieces left.
Scoop the frosting into the bowl. I used the whole can, but I’ve seen some recipes recommend 3/4 of a can. Guess that’s up to you… Mix until the frosting is completely blended into the crumbs.
Put the bowl of cake/frosting mixture into the freezer for a couple of hours. This is important so that the mixture will hold together while you’re making your balls.
Pull out a couple of cookie sheets and line them with waxed paper. Then scoop out some cake and start making balls. I used a handy-dandy mini ice cream scoop to make my balls nice and uniform. I was able to make 57 balls. I only had room for 56 on my cookie sheets, so I fed the extra one to my husband at this point. It can be given to a random child as well.
Once you have your cake balls in nice, neat rows on your cookie sheets — stash them in the freezer for at least 6 hours. I ended up leaving mine in overnight so I could do the dipping later.
When you’re ready, melt your candy coating. I thought about melting it in the microwave, but figured it would be tough to keep the chocolate warm while dipping 57 56 balls. I didn’t want to melt it in a saucepan because I’ve had bad experiences with burned chocolate. Yuck! So I created my own little double boiler, using a saucepan and a glass bowl I already had. I was able to melt all the chocolate, then turn the heat down and keep it melted throughout the dipping process. Perfect!
Hold the presses! When the chocolate is ready, you can dip the cake balls. There is a trick to this though. I had two spoons, one a table spoon, to aid in the dipping process. I dropped a ball into the chocolate, spooned chocolate over it and then scooped it up with the tablespoon. The cake ball instructions I read suggested that I tap the spoon on the rim of the bowl — but there were people in my house asleep (after all, I carried this process out in the middle of the night). So I just used the tapping motion, without the actual tapping. I also scrapped the bottom of the spoon on the side of the other spoon.
I also found that if I rolled the cake ball to the back of the spoon first, let the extra chocolate drip off and then rolled the cake ball to the front of the spoon, I could carefully drop the ball on to the cookie sheet without too much of a mess.
WARNING! I did have some issues with the spoon scraping chocolate off the side of the ball. So I’ll have to work on that next time.
Once I dipped all the balls and they had set — which happened in just a few seconds! — I put them in a display container for safe keeping.
Check out my favorite cake ball videos on Youtube!